

In Microsoft Copilot Studio, there is support for creating multilingual agents or chatbots. You do this by going to Settings – Languages. Your agent will have a primary language, which you choose when you create the agent. On Settings – Languages, you can then add more supported languages. The currently supported languages are:
- Arabic (Saudi Arabia) (ar-SA)
- Chinese (Simplified) (zh-CN)
- Chinese (Traditional) (zh-TW)
- Czech (cs-CZ)
- English (en-GB)
- Dutch (nl-NL)
- English (Australia) (en-AU)
- English (United Kingdom) (en-GB)
- English (United States) (en-US)
- Finnish (fi-FI)
- French (Canada) (fr-CA)
- French (France) (fr-FR)
- German (de-DE)
- Greek (el-GR)
- Hebrew (he-IL)
- Hindi (hi-IN)
- Indonesian (id-ID)
- Italian (it-IT)
- Japanese (ja-JP)
- Korean (ko-KR)
- Norwegian (Bokmål) (en-GB)
- Polish (pl-PL)
- Portuguese (Brazil) (pt-BR)
- Russian (ru-RU)
- Spanish (Spain) (es-ES)
- Spanish (United States) (es-US)
- English (en-SE)
- Thai (th-TH)
- Turkish (tr-TR)
For an up-to-date list of language support in Copilot Studio, check out Language support – Microsoft Copilot Studio | Microsoft Learn
Once you’ve added multiple languages, you’ll need to download a file for each language, translate all text strings, and upload the file again.
Click on the “Upload” button to download the file
The next screen gives you a then option to download the file, either as a JSON file or as a ResX file.
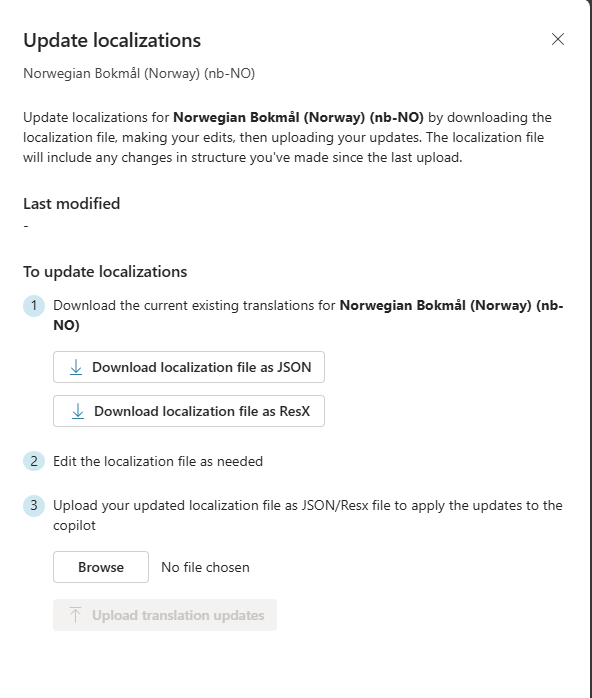
Basically, you can then open the file and manually translate all text strings into the desired language. This can be a demanding job, so let’s look at a better option that can automatically translate all text strings to Copilot Studio agents for us.
To do this you need Visual Studio Code, if you don’t already have VSC then you can download it here Visual Studio Code – Code Editing. Redefined
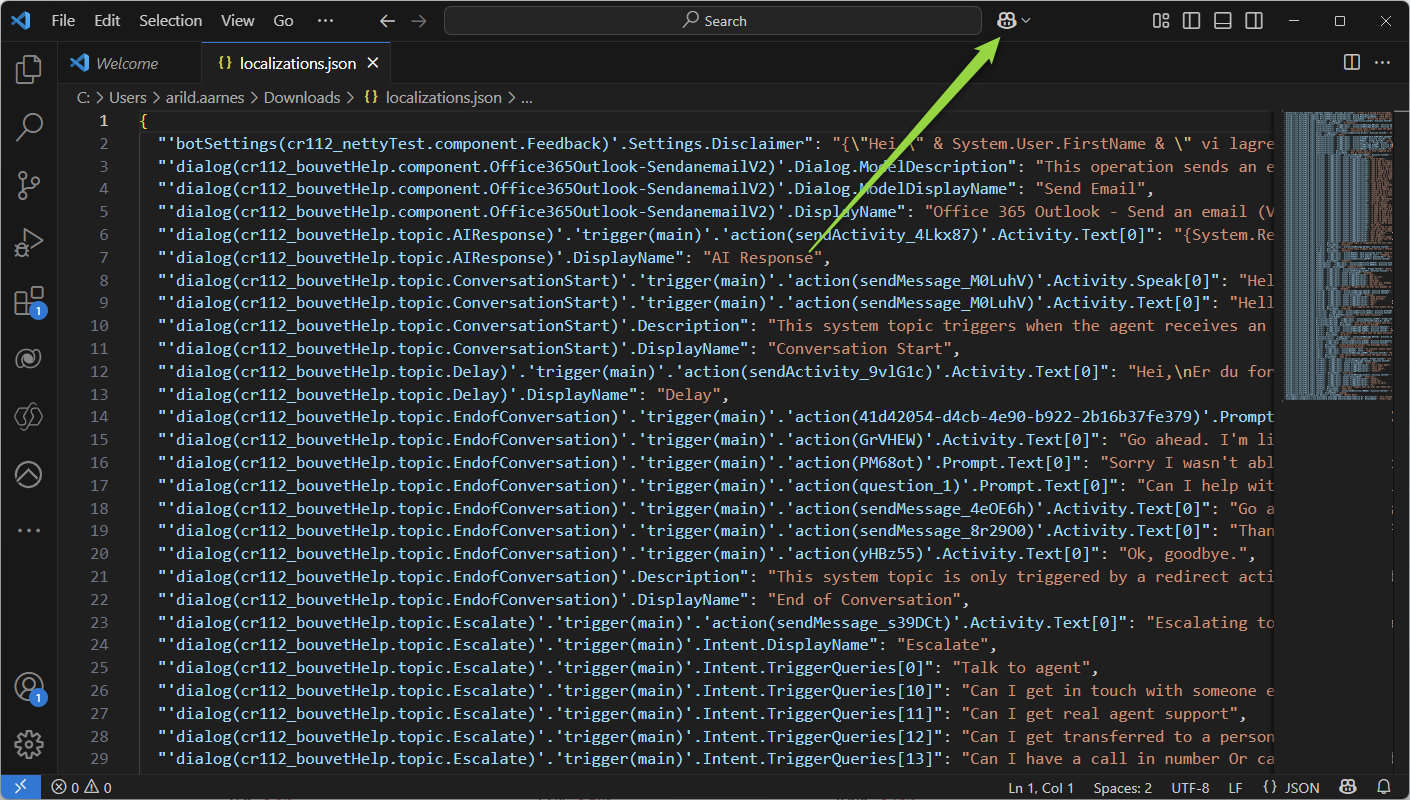
In Copilot Studio, click on “Download localizations file as JSON” for the language you want to translate.
Open the file you downloaded in Visual Studio Code, probably named «localizations.json.”
In Visual Studio Code, open chat (Copilot) to help us translate the file.
In the chat window, select “Edit” instead of “Ask”.
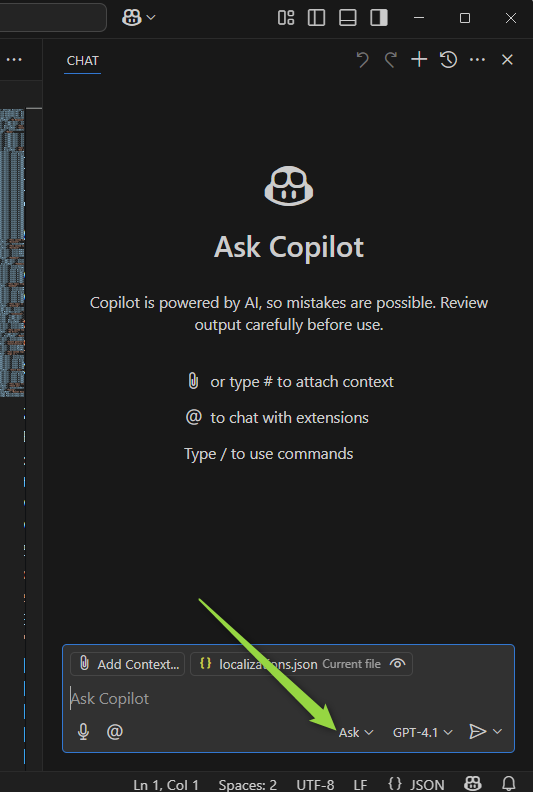
Enter the following prompt to translate into Norwegian:
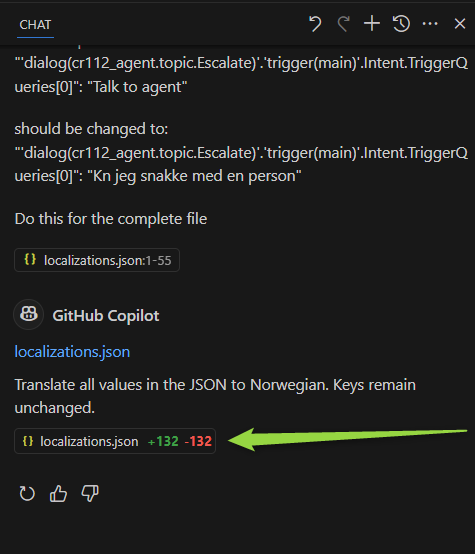
Please translate all the values in this JSON file to Norwegian. DO NOT change anything in the key it self, only the value.

For example: "'dialog(cr112_agent.topic.Escalate)'.'trigger(main)'.Intent.TriggerQueries[0]": "Talk to agent"

should be changed to: "'dialog(cr112_agent.topic.Escalate)'.'trigger(main)'.Intent.TriggerQueries[0]": "Kan jeg snakke med en person"

Do this for the complete file
Click “Submit” Button or press Enter
Then just grab a coffee and follow along while copilot translates the file for you. But be quick it only takes 2-3 minutes.
When the file is finished over set, click on the line in chat that shows how many lines it translated (see picture)
This will open a window with the translated version of the file. Moose Save As in Visual Studio Code and give the file a reasonable name, e.g. «localizationsNO.json”.
Go back to Microsoft Copilot Studio, select “browse,” and navigate to the file you just saved.
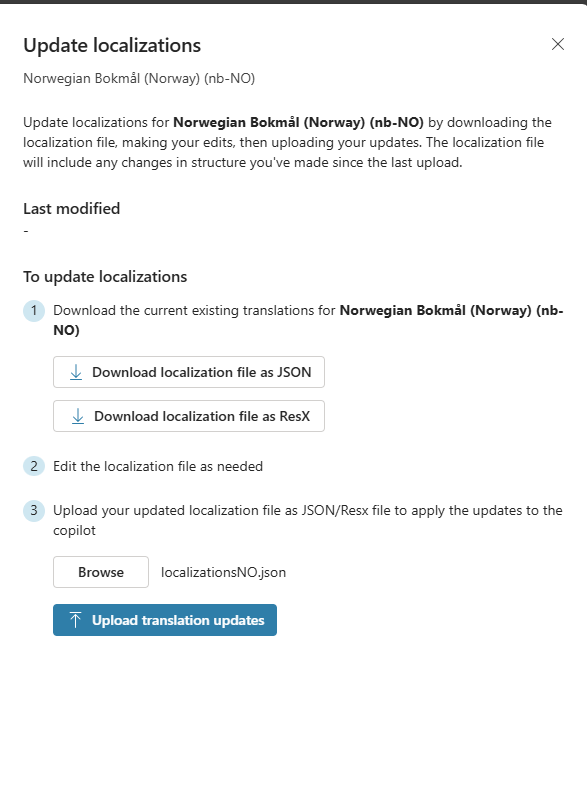
Click “Upload translation updates”, verify that you want to overwrite. After a few moments, you will be notified that “Localizations update Successfully”
Repeat the process for other languages if you’ve added more.
Worth noting
- It may be a good idea to translate the text files as the last thing you do to make sure that you get all the texts in e.g. Topics, Action etc.
- If you make changes after you have uploaded the translated file, you will need to repeat the process to include text from new Topics or other objects in the agent
- You can repeat the process of uploading translated text files at any time if you need to change something in a language.