
If you ever had a customer request for changing the way a list or a field in SharePoint is rendered or displayed, SharePoint 2013 and the JSLink property comes to the rescue.
Microsoft have added a JSLink property, that’s a JavaScript Link property, to the SPField class and to the List View Web Part. By pointing these properties to a JavaScript we can have control over how SharePoint renders and display our fields.
I will show an example of this that we used in a project to change they way SharePoint rendered a Choice field.

We used this to manually show the status of a project with colors instead of showing the actual values from the choice fields.
First create a custom list in your SharePoint 2013 site. Select “Add an App” from the “Settings” menu

Give your list a name, any name will do, I called mine “My Status” for this example. When the list is created navigate to the list.
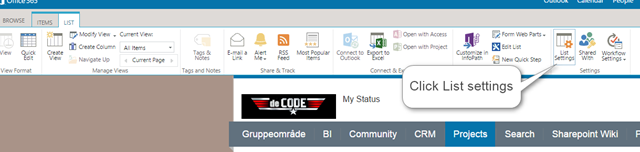
Inside the list click the “List” tab in the ribbon and then click “List Settings”
Scroll down to “Columns” and click “Create Columns” to create a few new columns.
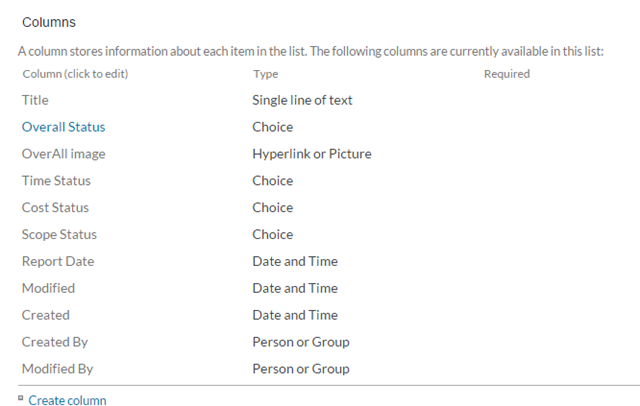
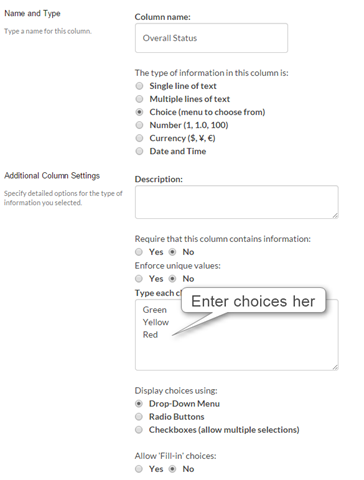
For this example I created 4 choice columns, “Overall status”, “Time Status”, “Cost Status” and “Scope Status”. They all have the same choices added, “Red”, “Yellow” and “Green”. See picture for details.
After the columns are created it’s time to have a look at the JavaScript we will put in the JSLink property.
(function () {

    // Create an object that have the context information about the fields that we want to change the rendering of.
    var priorityFiledContext = {};
    priorityFiledContext.Templates = {};
    priorityFiledContext.Templates.Fields = {

        // Apply the new rendering for these fields on List View
        "Overall_x0020_Status": { "View": priorityFiledTemplate },
		"Time_x0020_Status": { "View": priorityFiledTemplate },
		"Cost_x0020_Status": { "View": priorityFiledTemplate },
		"Scope_x0020_Status": { "View": priorityFiledTemplate }
    };

    SPClientTemplates.TemplateManager.RegisterTemplateOverrides(priorityFiledContext);

})();

// This function provides the rendering logic for the list view
function priorityFiledTemplate(ctx) {

    var priority = ctx.CurrentItem[ctx.CurrentFieldSchema.Name];

    // Return html element with appropriate color based on value

    switch (priority) {
        case "Red":
		//Instead of the word "red" show and image from the Style Library
            return "<img src='https://decode247.sharepoint.com/Style%20Library/red.png' align='center'>";
            break;
        case "Yellow":
            return "<img src='https://decode247.sharepoint.com/Style%20Library/yellow.png'>";
            break;
        case "Green":
            return "<img src='https://decode247.sharepoint.com/Style%20Library/green.png'>";
    }
}
I saved this script in the style Library of my site Collection and pointed to it from the JSLink property of the List View Webpart.
The script references the columns we want to change the rendering of, the fields are “Overall_x0020_Status”, “Time_x0020_Status” etc. _x0020_ is SharePoint’s way of representing a space in the field name internally.
The JavaScript “Switch” statement is where the actual rendering takes place. We use “Switch case” to check for the value in the column and the replaces the column with our own HTLM. So we can basically do whatever we want here. In this case we replace the column with HTML pointing to a small picture in the Site Collection Style Library. I have small pictures like this for the three colors saved in the Style Library.
![]()
![]()
![]()
So put the JavaScript in your Site Collection library, it can actually be placed anywhere but I like to keep them easily accessible in the Style Library.
Put a List View webpart from the “My Status” list we created earlier on the homepage of your SharePoint Site and go to “Edit Webpart” to get to the webpart settings. In the “Miscellaneous” section put a link to your javascript in the JSLink property. My link looks like this ~sitecollection/Style Library/ProjectStatusNew2.js The “~sitecollection” will automatically resolve to your Site collection
Click Ok to save your webpart settings. If everything is working correctly your webpart should now look something like this:

Without our JSLink JavaScript it would look like this:

and that’s a bit more boring 🙂
I’ve made a JSLink template that implements all 4 templates, view, display, edit, and new. Is there any way to deploy a custom site column to o365, or attach the js file to an existing column?