
The SubSites webpart we have available as a free download will not run on Office 365, this is because it is not developed as a sandboxed solution. Sandboxed solutions is a requirement if you want to deploy webparts to Office 365.
|
You can download the SubSite Webpart for Office 365 (sandbox solution) and the source code at the bottom of this article |
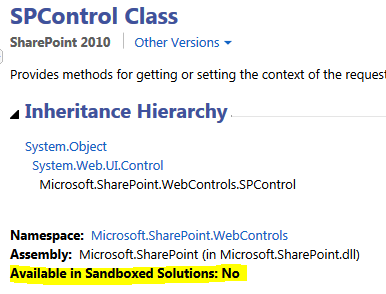
To make the SubSites webpart available as a sandboxed solution we needed to make some small changes in the code. This is because we had used some classes and methods that are not available in a sandboxed solution. One of these where SPControl.GetContextWeb(Context) to get the current site the webpart is running in. The SPControl class is not allowed in a sandboxed solution. You can see what classes and methods are available in a sandboxed solution in the Sharepoint SDK. The are marked with Available in Sandboxed Solutions: yes or no
Creating the sandboxed solution
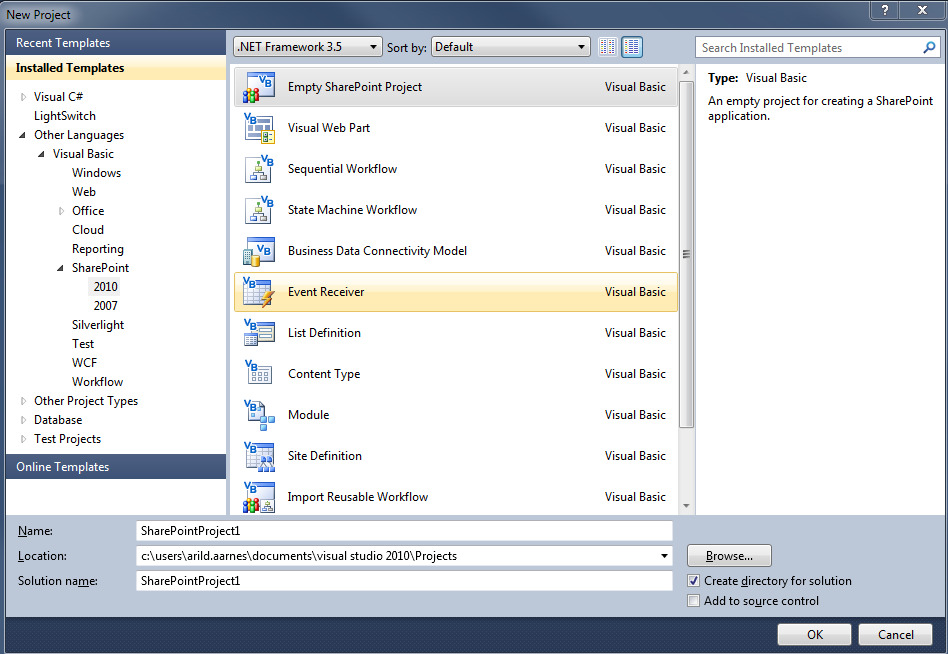
Start Visual Studio 2010 and create a new project. I created a Empty Sharepoint Project
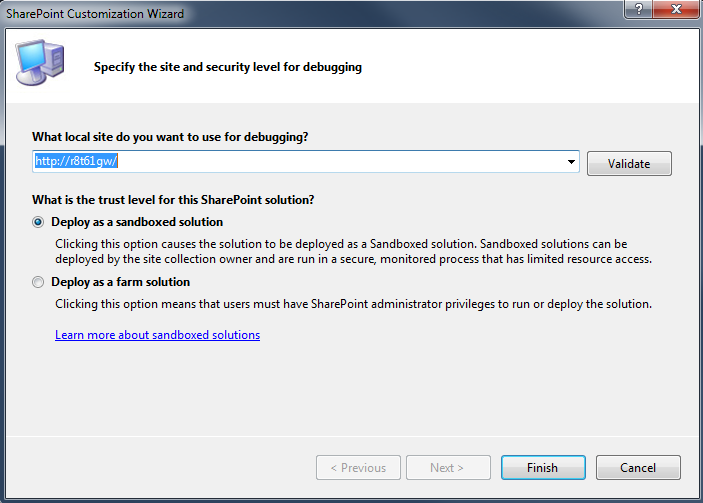
The next step is the important one in creating a sandboxed solution. In the Sharepoint Customization Wizard make sure the Deploy as a sandboxed solution is selected and click finish.
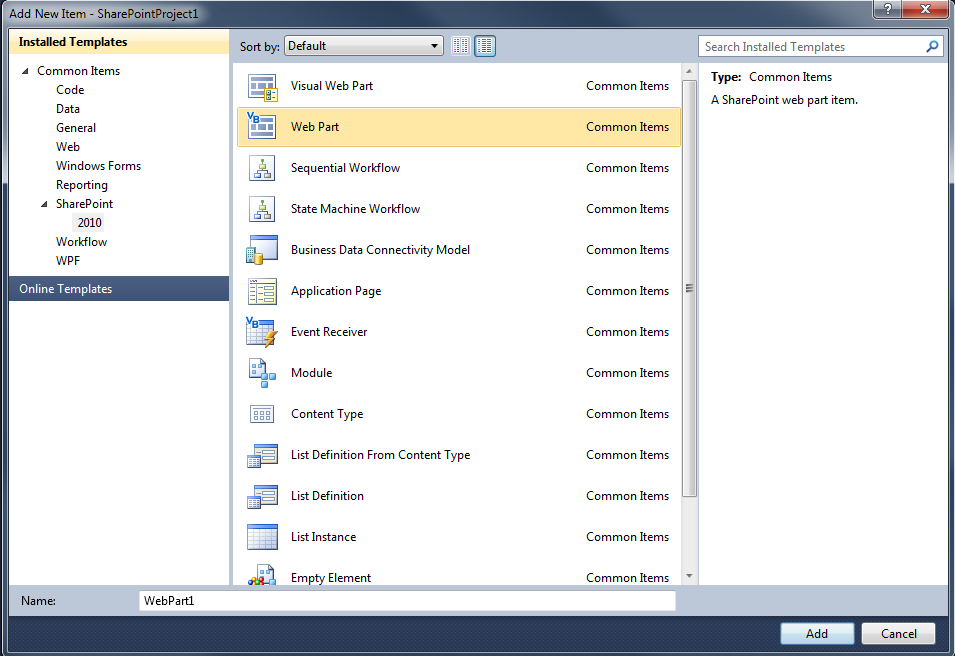
We then get an empty Sharepoint 201 project. I then right clicked the project and selected Add and New Item. Select to add a webpart.
I then copied and pasted the code from the original SubSites webpart and made some small changes.
I changed “Dim myWeb As SPWeb = SPControl.GetContextWeb(Context)” to
“Dim myWeb As SPWeb = SPContext.Current.Web”
You will find that SPControl is used 2 places so make sure to change both.
The last thing I changed was the redirection taking place in the SubWebList_SelectedIndexChanged methode. I used “Me.Page.Response.Redirect(SubWebList.SelectedValue)” there. Response.Redirect is also not available in a sandboxed solution so I chnaged that to use a javascript instead.
”scriptlit.Text = "<script type=’text/javascript’ language=’javascript’>window.location=’" + SubWebList.SelectedValue + "’;</script>"”
The scriptlit is a Literal control declared at class level.
That’s it, compile and packed the solution and you have the webpart packed as a sandboxed solution wsp file that can be installed on Microsoft Office 365.
Installing on Office 365
To install the wsp fil on your Office 365 sharepoint site navigate to your site and select Site Settings on the Site Actions menu.
Click “Go to top level site settings” under the Site Collection Administration category if you are not already at the top level of the site collection.

Then click “Solutions” under the Galleries category.
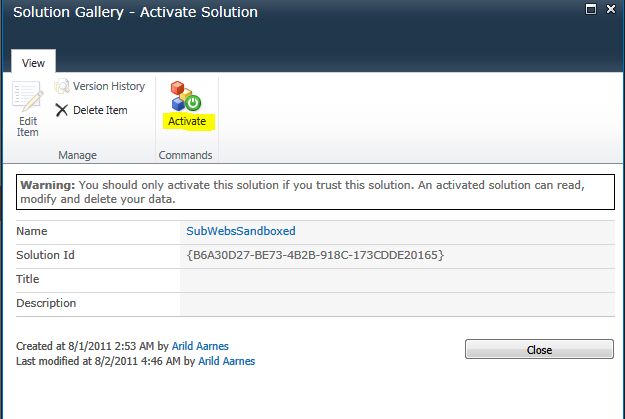
Once in the Solutions gallery click the Solution tab and then Upload Solution, point to your wsp file and click OK. Remember to Activate the solution.
Navigate back to your Sharepoint site and edit the page to add a webpart. The SubSites webpart should now be available in the Custom category.
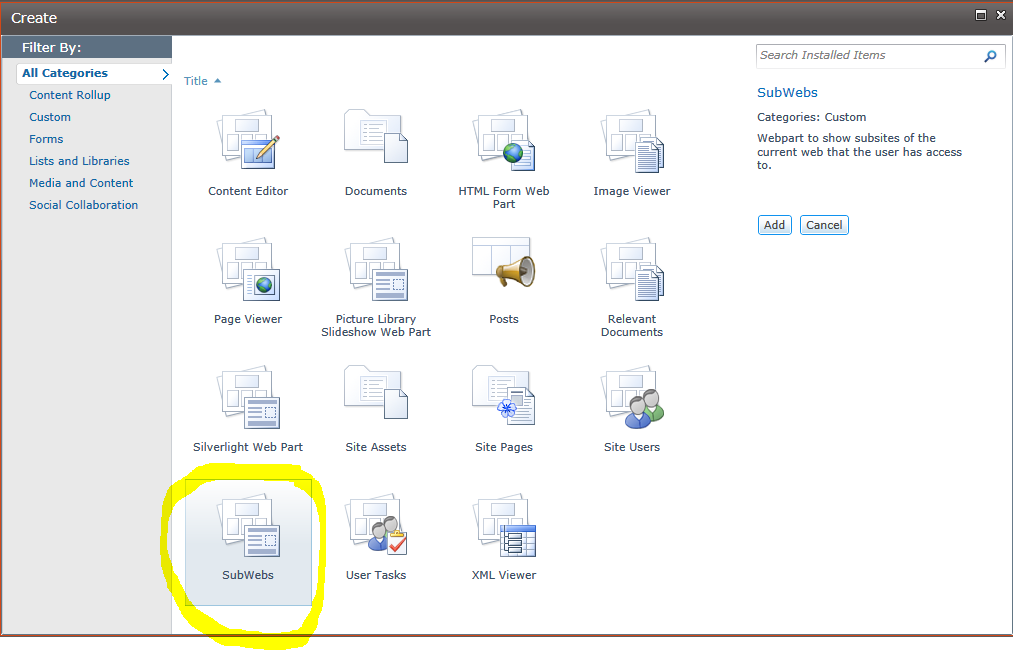
Click add and the webpart will be available on the Sharepoint site.
Great web part, works fine, I use it for a customer list with more than 80 company names. I would like to filter the results by the value of the Description field, “customer” or “prospect”. And I would like to add an ID for the results table so I can use a javascript to add an alfabetical tabs above it. How could I create that? I’m on Office 365 E3, not using VB.
Best regards,
Nico.
Hi,
Someone would have to code that for you I guess. The webpart unfortunately does not have that functionality as it is now.
regards
Arild